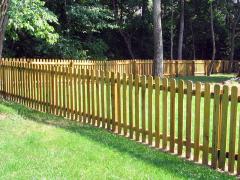
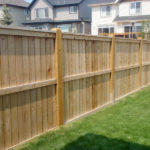
 Nowadays, these type of enclosure is among the leaders in popularity among newly built wooden fences. They shield summer cottages and garden plots, homes in rural settlements – villages and towns, where it is often used as the main barrier. They separate chores areas (vegetable gardens) and growing areas – living creatures walking (piggeries, poultry houses) from residential zones. Small size picket fences enclose front gardens and flower beds. It is perfect in a country construction – it is used as an auxiliary decorating element of rustic landscape design. How to build a picket fence?
Advantages
 If you want to get satisfaction from the work results and save on attracting professional craftsmen, a fence picket is your choice. Because ease of performing is its main advantage;
- The low cost compared with solid board enclosure paneling, metal grid, sectional and weldment constructions;
- Durability, wind resistance (reduced windage) and ease of operation, consisting timely painting (1 time every 5 years) and elimination of mechanical damage;
- Visibility of contiguous territory (though, someone may seem the complete visibility as its disadvantage, then a “checkerboard” enclosure way be applicable), preservation of the natural wind ventilation, no shadowed areas;
- Recyclable materials, environmental friendliness, non-waste items (slats can be used as a peg for garters for seedling and trees, seedlings or in construction and housekeeping, etc.).
Building process step by step
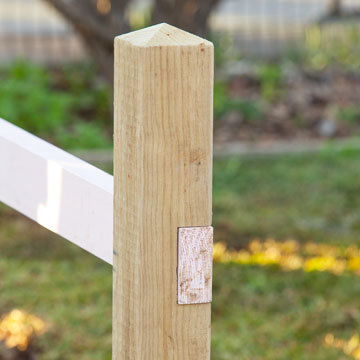 Among many varieties of wooden enclose a picket one is the most simple to manufacture and requires no special skills:
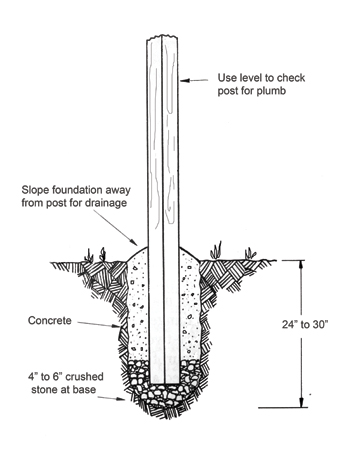
- Pull a cord between end points for layout. After every 3 meters mark future places for pits with diameter of 10 inches. If you make this process at the first time, remember that the future construction durability is determined, above all, by compliance with installation rules of support beams (pillars), give it the most attention.
- Dig pits to a depth of 20 – 22 inches. Concrete solution is perfect for the installation of metal beams. There is a concern that the concrete “attracts” moisture, and it can reduce the service life of wooden slats. And, although, there is no common opinion on this matter, but for better structure strength use a “milder version” – a way of laying with layers, when every 4 inches soil and cement are alternated.
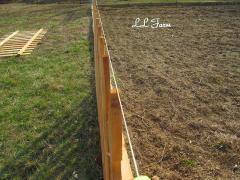 Drive in horizontal streaks on slats – upper and lower. The horizontal installation of streaks is checked with a level. The first one should be driven in at a height of 12 inches from the bottom, the second – on the upper beam edge.
- Before driving in slats, ennoble them – sharpen and make ends wedge-shaped, semi-circular or wavy shaped. Pull up a cord between bars – designated upper limit of slats.
- Drive in the first picket. Then, you put the second one on it, the third, fourth, fifth. But drive in only odd – the third, fifth, and so on. Places of the even slats remain unfilled – they are clearances. There is a way of “checkerboard”, in which the even slats is driven in on their places but only on the reverse side of streaks. Such a fence is not “rayed” and is well ventilated.
- Fix pickets with a hammer and four nails – two nails on the upper and two lower streaks, on the back side nails are bent. Then cover them with antiseptic or varnish, and paint after drying.
- At the end of painting your fence is done. The first painting should be made in two layers. This picket fence will serve you for a long time.
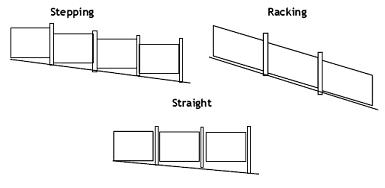 How to build a picket fence on a slope: two simple ways?
- The easiest way to install a fence on land with a slope is leveling the surface. In this case, the lower level of the future enclosure will become similar.
- Another way – installation different height picket sections with a single upper level.
All issues of Picket Fences are concept art for The House of Tomorrow, with #1 being of the whole house, #2 being for the kitchen, and #3 being for the bathroom. #4 and #5 are close-up details of the whole house.