Building barbed and welded wire fences requires some specific skills and abilities. However, you can complete this task properly by following the guidance described below.
Items, Tools, and Equipment You Need to Build a Wire Fence
 Before you having a dig at building your wire fence, prepare all the necessary things listed below:
- wire (welded or barbed, of your choice);
- posts (wooden or steel);
- lumber to make the rails;
- post hole digger;
- power drill;
- circular saw in case that you need to shorten the posts;
- deck screws, L-brackets, fence rolls, gate latches, and hinges;
- tape measure, level, any other metering equipment you may need;
- concrete – premixed dry mortar or the components you’ll mix by yourself (it’s better not to prepare the concrete until you dig all the post holes), gravel for the post holes.
Detailed Instructions on Building a Wire Fence
You should be made aware with the instructions on how to build a welded wire fence or barbed one before you start working.
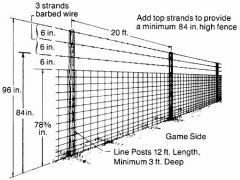 As a first step, you have to map out a plan of posts locations and then measure where the posts have to be placed on your land parcel. Choose post spacing size properly. In average, the distance between two pillars has to be from 7 to 10 feet. You may add some extra posts if needed, but still you have to avoid using too many of them.
Use the post hole digger to make the apertures into the ground. You have to dig at least 2 feet down to fasten the fence pillars securely. Put some gravel for drainage at the bottom of each hole to prevent the posts from rotting. If needed, saw the pillars to shorten them. Prepare the concrete. Set the post into the apertures and check the vertical and horizontal level. Now you can add the concrete to the holes; fill them completely. Let the concrete set and do not touch the pillars for two or three days.
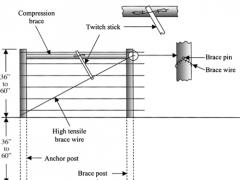 After the concrete congeals, you can start making top and bottom rails. It is better to use a hardwood lumber for rails. Place the bottom rails close to the ground and fix them to the pillars using L-brackets. Then define the level where the top rails should be placed. That is the top of your fence. Fix the top rails in the same way as bottom ones. You can skip this step if you build a barbed wire fence.
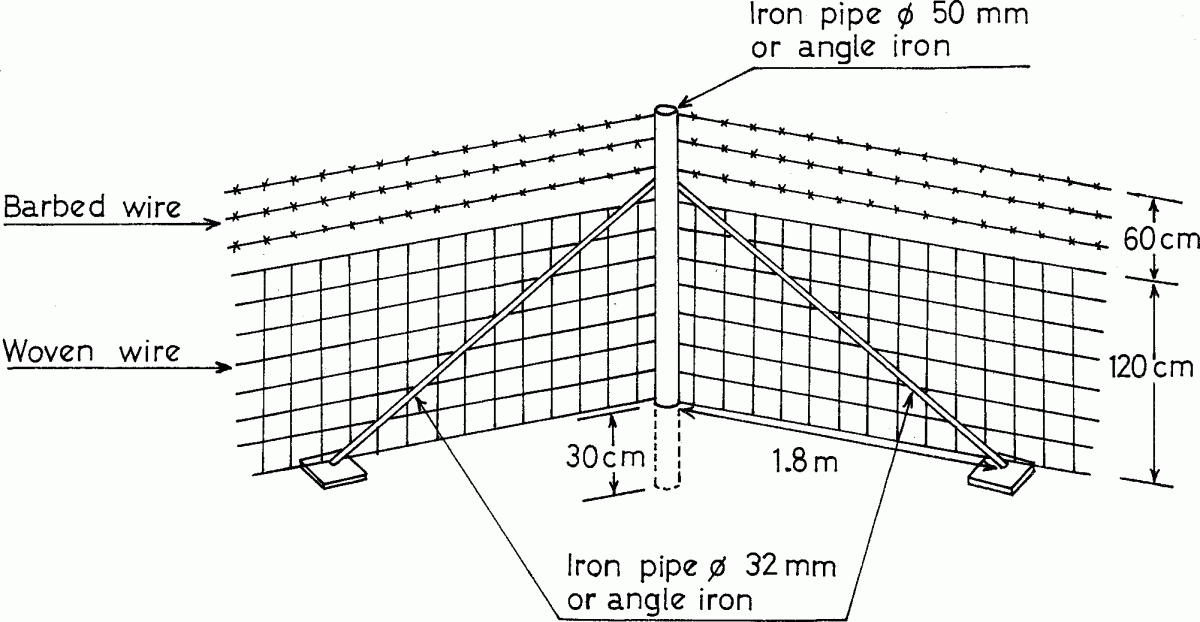
Now you can strain the wire. Start from the corner post and move to the next pillar, unrolling the wire and stapling it carefully. Check the level regularly. Continue this procedure until you reach the last pillar. For barbed wire fence repeat this procedure several times until you strain the posts from the bottom upwards. After that, you can install a gate.
Useful Tips and Advice
 Double check all your measurements and make sure all the posts are at the right distance and angles to each other. Once you build the fence that will be quite difficult to move the pillars about.
Check that you set the corner posts deeply enough.
Choose the posts in accordance with the macro climate. Steel pillars are recommended to use under the harsh weather conditions and high humidity, they are very durable and secure. Their price is comparatively higher, however, they are good value for money. Wooden posts are made of hardwood and soaked with special preserving agents, however, wood is still not so durable, as metal.
After you set the pillars into the holes and grout it, you have to check them periodically to assure that the posts do not move while drying.
Note that you may require the assistance during some steps of the fence building process, so ask your friends or relatives for help beforehand.
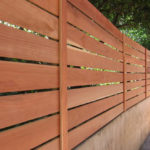
How to Build a Barbed Wire Fence: Instructions, Tips, Advice