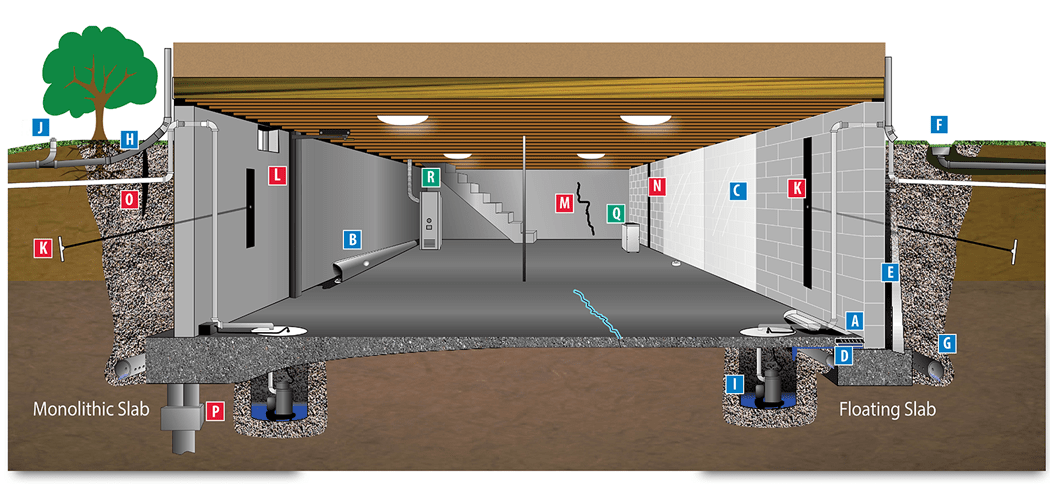
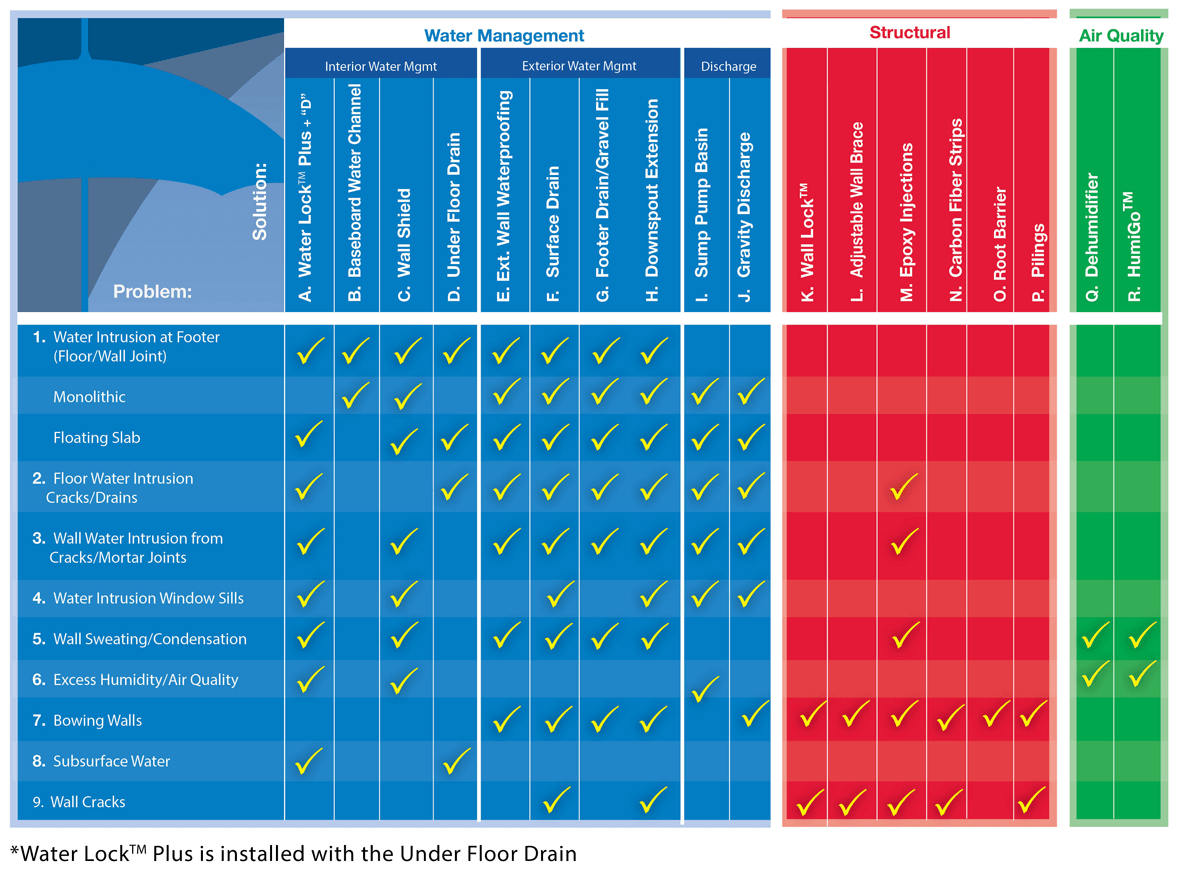
The basement’s durability and safety depends on the durability of the whole structure. It’s constantly affected by rain, ground and capillary water. Concrete has the property of picking up moisture, which – penetrating the walls and floor – providing ideal conditions for the occurrence of mold. Penetrated into the pores of concrete, water leads to the destruction of the integrity of the basement. To protect the entire structure, timely basement waterproofing is required. The technology itself requires certain knowledge and skills for the processes taking place in the soil and in concrete, as well as in certain waterproofing materials. But in general, DIY basement waterproofing is not a big deal. You should remember that the process of waterproofing basement walls and flooring will prolong the life of the entire house.
Technologies of waterproofing basements
The first thing that needs to be done is to determine the range of measures for waterproofing. For this, a number of starting conditions must be taken into account:
- level of groundwater occurrence,
- the force of ‘swelling’ after the seasons with below zero temperatures, if this is actual,
- heterogeneity of the soil,
- conditions of the house’s exploitation.
If the maximum level of groundwater below the basement is up to 3 feet, then it will be sufficient to perform a vertical lubricating waterproofing. But if the maximum level of groundwater is 4 feet or more, it’s better to perform horizontal waterproofing in two layers with mastic. For vertical insulation, it is necessary to perform pasting and rolling methods. Depending on the budget that is planned for basement waterproofing products, it’s possible to additionally process all the concrete elements of the basement and the basement with penetrating waterproofing, stopping the progress of water through the capillaries.
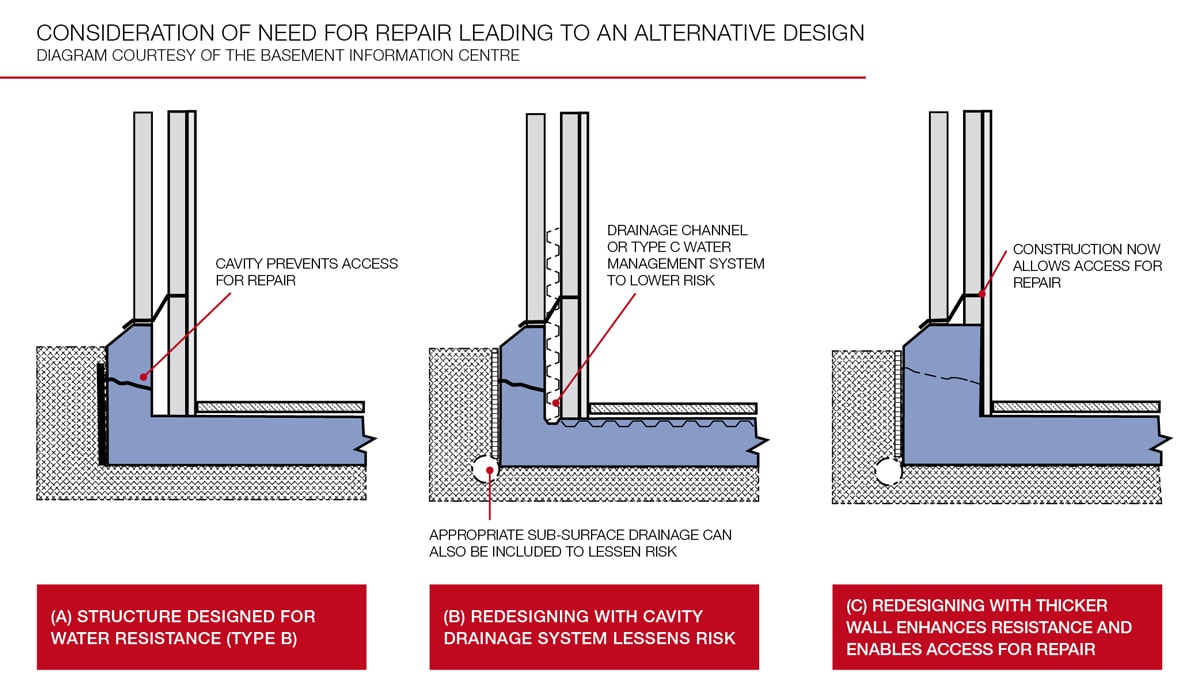
Source schemas www.olshanfoundation.com
If the groundwater level is above the basement and is ‘famous’ for frequent and abundant precipitation – which means it’s long and difficult to infiltrate into the ground – then, in addition to the previous list of activities, it will be necessary to equip the drainage system around the entire house.
The basement waterproofing cost will depend on several aspects:
- the surface area to be treated,
- complex of measures,
- the type and amount of waterproofing materials.
The cheapest potion includes bitumen only. The most expensive one is a combination of works that include lubricating, rolling, penetrating waterproofing works, as well as drainage system or clamping walls.
Horizontal basement waterproofing
Нorizontal waterproofing is carried out in two places:
- at the level of the basement flooring,
- at the junctions of the foundation with the house walls.
IMPORTANT! Horizontal waterproofing can be done only during the construction phase of the house, so take care of it on time.
Before the beginning of all works at the basement, it’s necessary to coat the surfaces with mastic, then concrete is poured for a layer of 2-3 inches. It’s necessary for performing the proper waterproofing under the foundation. Before laying roofing material layer, the concrete should dry and left untouched for at least 10-15 days. Next, concrete is thoroughly smeared with bituminous mastic throughout the whole its area, then the first layer of roofing material is laid on it. Then the surface is again coated with mastic and another layer of roofing material is laid. From the top it’s poured with 2-3 inches of concrete, which must be leveled.
Ironware
Ironware also refers to measures that provide waterproofing. It’s usually performed according to the following technology. In 2-3 hours after the pouring of concrete, cement – sifted through a fine sieve – is covered with a layer of about an inch. Then it’s leveled. After a while, cement should get wet from the moisture contained in the concrete. Then the same thing is performed for the entire surface with a conventional concrete screed – from time to time you should moisten it with water until the concrete reaches its strength.
Laying waterproofing
After the construction of the belt foundation it must also be waterproofed in order the moisture not to rise upwards – into the walls. To do this, the surface is covered with bituminous mastic and then the roofing material (or other chosen rolled waterproofing product) is placed on top. The procedure is performed twice to get two layers. The edges of the rolled material which are hanging from the base are not cut off, but turned down and then pressed with vertical waterproofing.
The drainage system
Depending on the level of groundwater and soil structure, the basement waterproofing device can assume the mandatory presence of a drainage system that will collect and divert excess atmospheric and groundwater into a separate well. In general, such a need arises if there is high groundwater and poor soil permeability.
Drainage system
To equip the drainage system, it’s necessary to excavate the trench along the perimeter of the object at a distance of at least 2 feet away from it. The depth of the trench depends on the level of the groundwater. The width is usually about 1-1,5 feet. Trenches should be located with a slight inclination toward the collecting well or pit. At the bottom, you should lay geotextile edge wrapped on both sides of the trench for about 2,5-3 feet. Then it’s necessary to cover gravel or rubble with a layer of 2 inches along the entire length of the trench. Then perforated drainage pipes are laid. Then you should cover the gravel with a layer of about 1 foot – it should be pre-rinsed in order not to clog the pipes. Then you should wrap everything in the remaining edges of the geotextile. The pipes are lead into the collecting well. Then the entire structure is covered with soil. The drainage system can be completed after the completion of the construction of the house or even after some time in the process of operation, if there’s such a need.
Vertical waterproofing
To perform waterproofing of the vertical surfaces, you can use different materials, combining them with each other. From the options described below, you can use one or several at once depending on the individual conditions of the house.
Bitumen basement waterproofing
The cheapest option on the market today is oil-impregnated waterproofing of foundations and basements with the use of bituminous resin. To do this, you must buy bitumen (most often it’s sold in bars).
The order of works is the following:
- Pour 30% of oil and 70% of bitumen into a large container (pan, bucket, vat).
- Heat the container using a fire or put it on a gas stove.
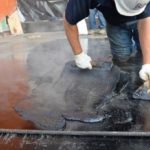
- When the bitumen is heated to the state of the liquid mixture, start applying it to a surface that must be previously leveled.
- Use a roller or a brush to apply bitumen to the surfaces trying to smear everything carefully.
- Begin to smear it from the basement to the area above the surface of the soil – about 1 feet.
- Apply 2 – 3 layers of bitumen – the total thickness is must be of about 2 inches.
IMPORTANT! The container with bitumen must be hot ALL THE TIME DURING THE WORK!
Bitumen penetrates and fills all the pores of concrete, preventing the ingress of moisture into it. The service life of such a technique is 5 years – it’s relatively long. Then it may start to break down and crack a bit, passing water into the concrete. To extend the life of this coating, bituminous-polymer mastics can be used, they are free from pure bitumen’s common disadvantages and more durable. The market can offer mastics of both hot and cold application, as well as polymer solutions having a rigid or liquid consistency. The methods of applying such materials can be different: by means of a roller or a spatula, spray techniques.
The waterpfooring technology
Using of rolled waterproofing materials can be performed either separately, or in addition to the lubricating method. Roofing material is the most common and relatively cheap material for that. Before fixing it on the surface of the foundation and the basement, it must be treated with a bitumen primer or mastic, as in the previous method. Then you should rub the linen of the roofing material with a gas torch and apply it to the vertical surfaces with an overlap of 6-8 inches. But it’s also possible to fix the roofing material with special adhesive mastics. On the top it should be once again covered with bituminous mastic. Then paste another layer of roofing material.
IMPORTANT! Before the laying the roofing material, it’s necessary to wrap the edges of the horizontal waterproofing downwards and press them from above fusing the rolled material.
Instead of roofing material, you can use more other modern rolled materials – a huge amount of them are on the market today. Their polymer base is usually polyester, which increases elasticity, wear resistance and improves performance. Despite the higher costs, these materials are highly recommended for the basement and foundation waterproofing by the professionals. But it should be noticed, that they won’t be able to provide sufficient strength of the coating without mastic treatment, since they don’t penetrate into the pores.
Liquid rubber waterproofing
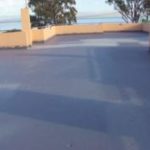
It’s also possible to use liquid rubber for waterproofing – it has rather good adhesion to the base, it’s durable and non-flammable. And – most importantly – the surface treated like that is seamless, which provides better protection. If the work on waterproofing is carried out manually, it’s maybe one of the perfect options. It’s absolutely perfect for hot and dry climate (California, Miami, etc).
Cheaper liquid rubber is applied in two layers – it takes at least 24 hours for drying. It’s traditionally sold in buckets. If the bucket is not fully used, it can be tightly sealed and stored for using later. More expensive liquid is applied in one layer, and it’ll take no more than 2 hours to dry. Which of the materials to choose – it depends on the homeowners’ preferences and the time of implementation. Before applying liquid rubber, the surface must be de-dusted and treated with a primer. After an hour you should apply liquid rubber with a roller, spatula or a brush according to the instructions on the package. The surfaces treated with liquid rubber may require additional protection from external influences if the backfill soil contains stones or debris. In this case, the foundation must be covered with geotextile.
Penetrating waterproofing
Penetrating waterproofing method refers to materials whose substances are able to penetrate into the structure of concrete up to 4-7 inches inside and then crystallize. Hydrophobic crystals prevent the penetration of water into the structure of concrete and lift it through the capillaries. They also prevent the corrosion of concrete and increases its frost resistance. Up-to-date materials for penetrating anti-capillary waterproofing differ in their penetration depth and method of application. Most often, these materials handle internal concrete surfaces. The best solution is to apply penetrating waterproofing materials onto wet concrete. To do this, you should first clean the surface of the dust, and then carefully moisturize it. Then apply the material in several layers. Once it’s absorbed, the outer film can be removed.
Plaster basement waterproofing
For leveling and simultaneously waterproofing of the vertical surfaces, you can use special plaster mixes with the addition of moisture-resistant components. Among them:
- hydroconcrete,
- polymer concrete,
- asphalt mastics.
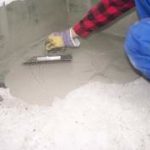
Plastering is traditionally performed using the same technology as plastering walls on lighthouses. To avoid the later appearing of the cracks, it’s highly recommended to apply it in a hot way. After the complete drying, the plaster layer must be protected by performing clay lock and backfilling with clay.
Screen basement waterproofing
Screen basement waterproofing is performed with using of bentonite mats. In fact, this method is a modern replacement for a clay lock. To protect the foundation and the basement inside the belt foundation from aggressive pressure of groundwater, bentonite mats are used – being laid on clay. By the way, they can be used in addition to other methods of waterproofing. On the treated foundation, you should fix the mats with the help of dowels. Fix them with an overlap of about 6 inches. Next, make pressurized wall of concrete that will be serving as an extra obstacle for moisture – it’ll prevent swelling of the mats. During this operation, the paper component of the mats is destroyed, so the clay is pressed into the foundation surface, performing a protective function.
Clay lock waterproofing
Clay lock is also designed not to let water cause harm to the foundation structures of the house. To do this, a trench of about 2 feet wide is dug around it. A layer of crushed stone is poured into the bottom. Then the bottom and the wall of the trench are rammed with a thick clay in several layers with interruptions for drying. The remaining space is covered with gravel or clay, and the top is equipped with a blind. During seasonal floods, clay won’t let water pass to the foundation ans basement structures, as well as the lower moisture will stay on the ‘bed’ of crushed stone.
Conclusion
Waterproofing the basement is a very responsible deal. Within the framework of this article, we have talked about the most common methods for DIY waterproofing works. If you have decide to do all the works with your own hands, please remember that the main thing for the success is to choose the right materials and to perform all the necessary measures. Then the basement inside the foundation will stay safe for a long time and will not require costly repairs.
