Let’s talk on how to redo hardwood floors in a correct way without professional help providing detailed information on the process.
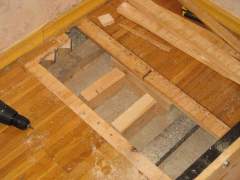 Over the time, the old hardwood floor needs to be replaced: it starts to creak, splinter and rot appears. Nowadays many people perform repairing works with their own hands. This article will help you to answer the question on how to redo hardwood floors yourself being your step-by-step guide.
Inspection of the structures
The first thing for you to do is to determine precisely whether the complete replacement of the entire structure is required, or it can be repaired. It’s quite enough to pull out a few floorboards and to look at the state of the lags. If they are rotted and in poor condition, you ‘ll need to do the installation again. If you have some cracks only, it is quite possible to replace the damaged boards only with new ones.
Caulking cracks
Gaps may appear due to not proper docking. They may be easily repaired manually. Large cracks can be repaired by applying the putty for several times. To make a homemade putty, you can mix the dust with varnish, lacquer, glue or PVA.
REMEMBER! Caulking cracks is an effective way only when the thickness of the layer is more than 1 mm. For these purposes, you can purchase special putty mixture for parquet.
Redoing the hardwood floor
- a bubble level;
- a laser level;
- a screwdriver;
- a hacksaw or a jigsaw;
- a hammer;
- a pencil, measuring tape for marking;
- a Z-shaped mounting foot.
Installing the lags
- Lags are stacked on the waterproof polyethylene film.
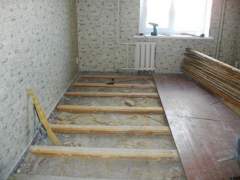 Make a mark on the wall, which will show the position and level of the first lag. The final height of the floor will consist of the height of the lag, the thickness of the floorboard and the floor covering.
- To align the base of a lag, enclose wooden lining. If they are not taken off with temporary lags, you can tie them with the screws, but fixing them to the base is not necessary.
- After the installation, the first bar is transferred to the level of the rest of the installation point – use a level for this purpose. Then make a mark. The easiest way to do this is using a laser level. The main thing is to make a mark on the outer joists – the intermediates can be installed using a long rule.
- The length of the lag should be slightly less than the width of the room.
Waterproofing
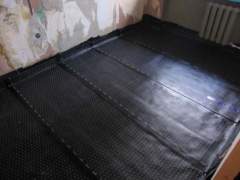
After the installation, the waterproofing process should be performed. It should be in the desynchronization with offset joints tightly, but without any bends at the edges. Then the top insulation vapor barrier is laid. It is attached to the joists on the stapler.
After that, the lag is screwed to create lathing of planks 2-3 cm thick, in order to create a ventilation gap under. The entire installation will occur on these boards.
Boarding
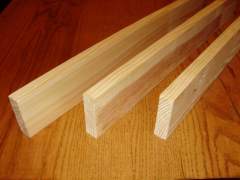 When a frame is ready, you can begin to trim it. The first stable planks must be perpendicular to joists. To mount the places that are not visible, the first twist of the screws should be performed under the baseboard. For more tightly pressing the board, it is recommended to pre-drill holes.
- Subsequent boards are joined by the “ridge in the groove” – they become welded as described above – by means of wedges. They are fastened with screws at an angle from the side of the groove to hide the fixing points.
- The last board is cut across the width of the gap, taking into account that the distance from the wall should be at least 0,5 inch. It is best to prune it at an angle to the lower par, then it will be easier to join it.
- Mount the last board and fix it with the screws.
- The resulting gaps are molded.
We hope this information will be useful for those who wonder how to red wood floors with your own hands.
